Teacher Appreciation Week is rapidly approaching!
Here’s a quick and easy craft that I found on Pinterest.
Materials:
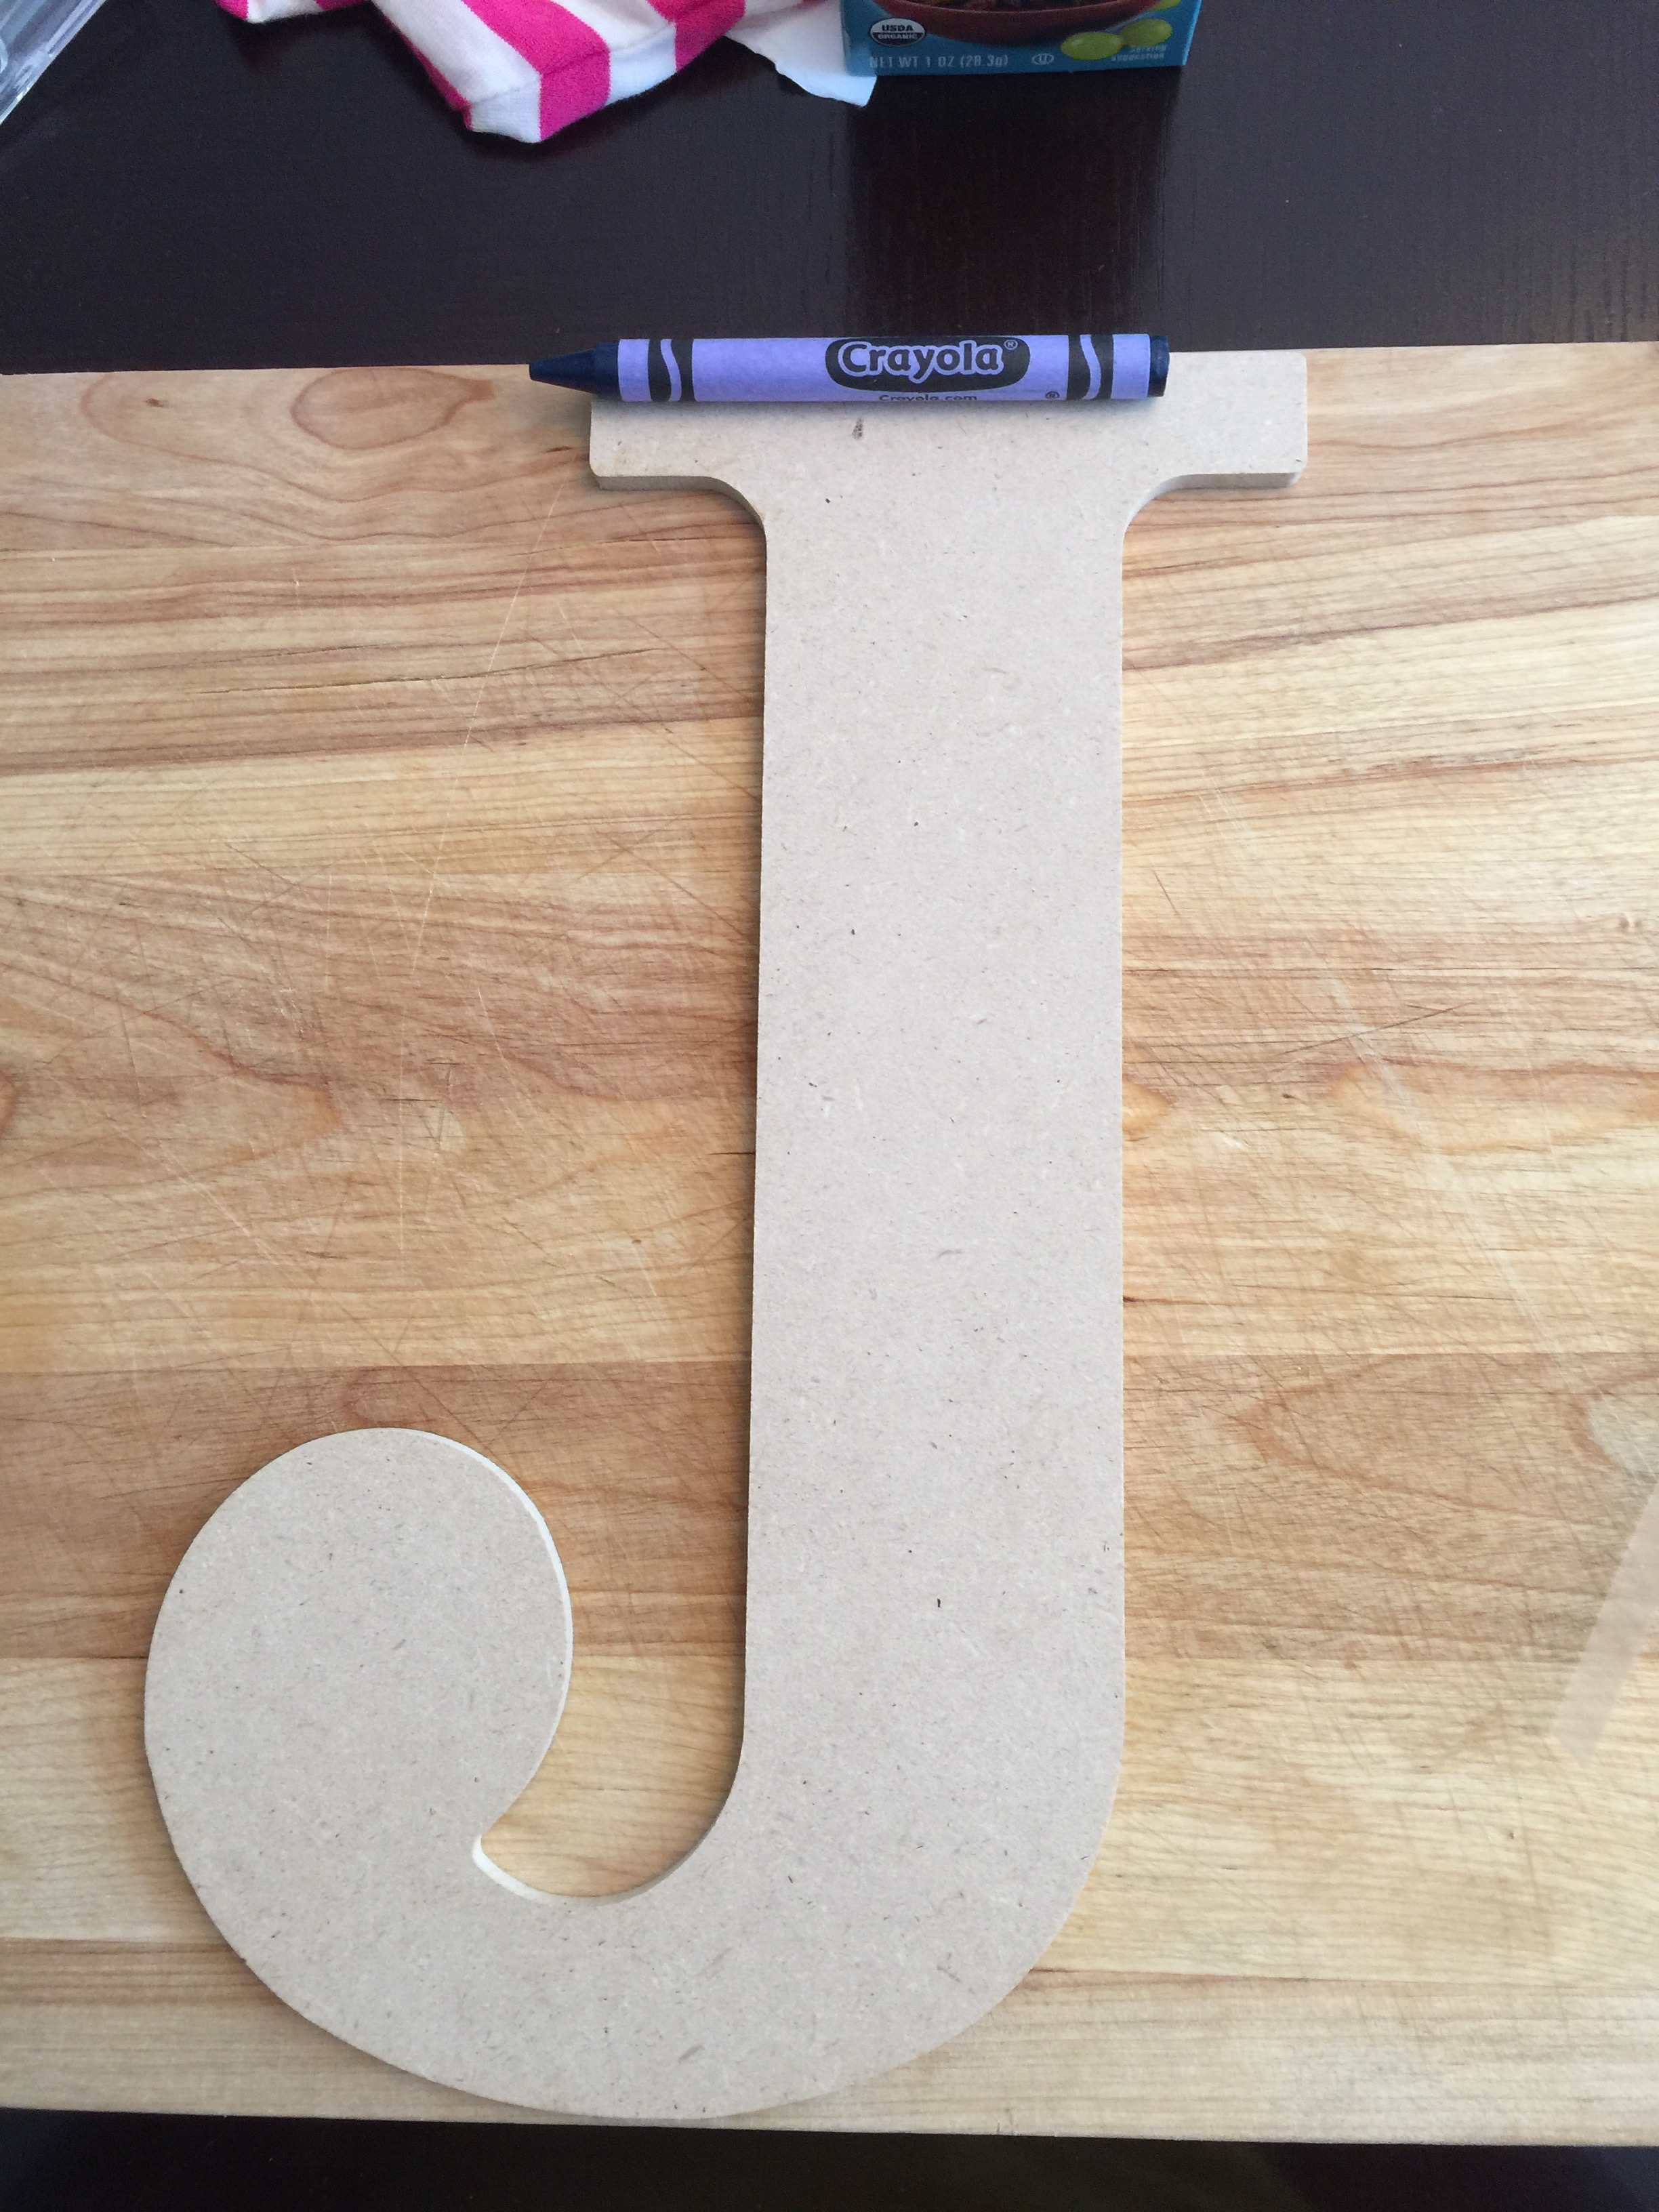
Letters- I used a heavy cardboard. Select thickness of your letter based upon your final placement of the letter. In this project, I placed letter in a memory frame, so a thicker letter would not have fit.
Crayons– I bought the 120 pack because I was doing 2 letters, but a 64 pack should be adequate for one letter.
Adhesive. I use glue dots. You can use a glue gun, but the dots are less messy and the adhesiveness is just as good.
Craft knife. (Exacto knife will do)
Cutting board.
HOW TO:
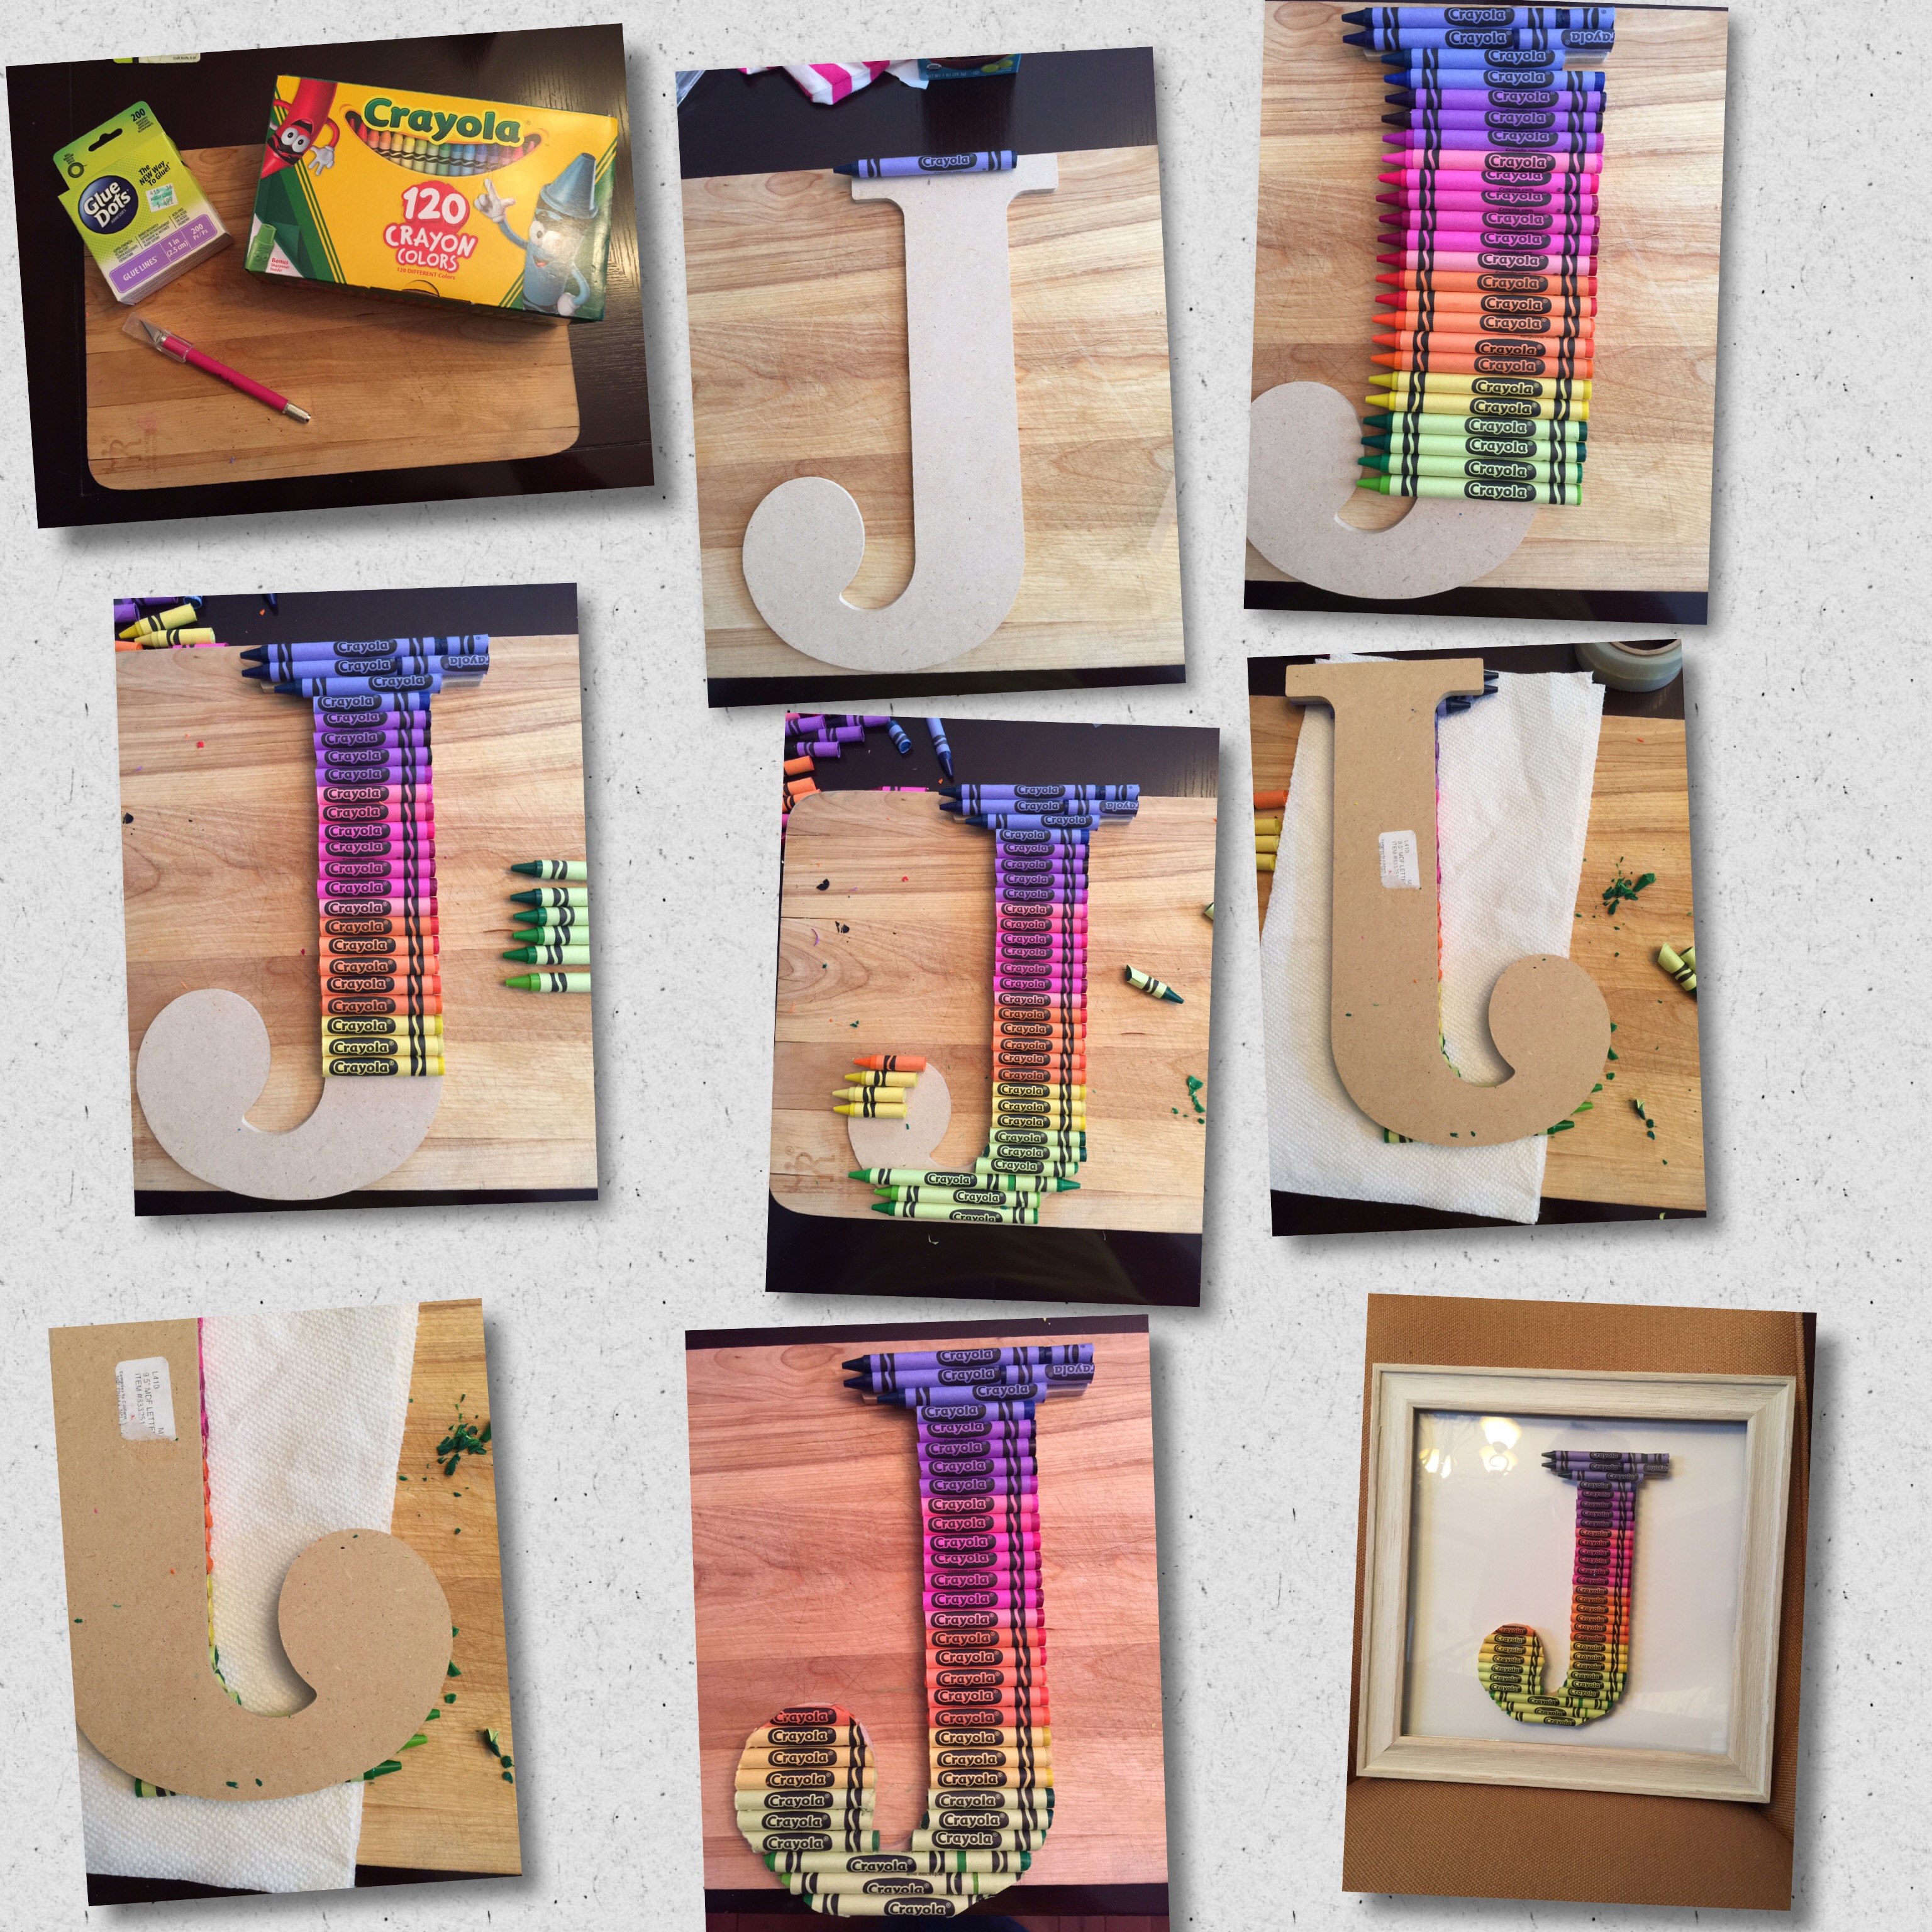
Choosing your design. I just chose to use the pattern of the rainbow, but a monochromatic theme could be cute as well.
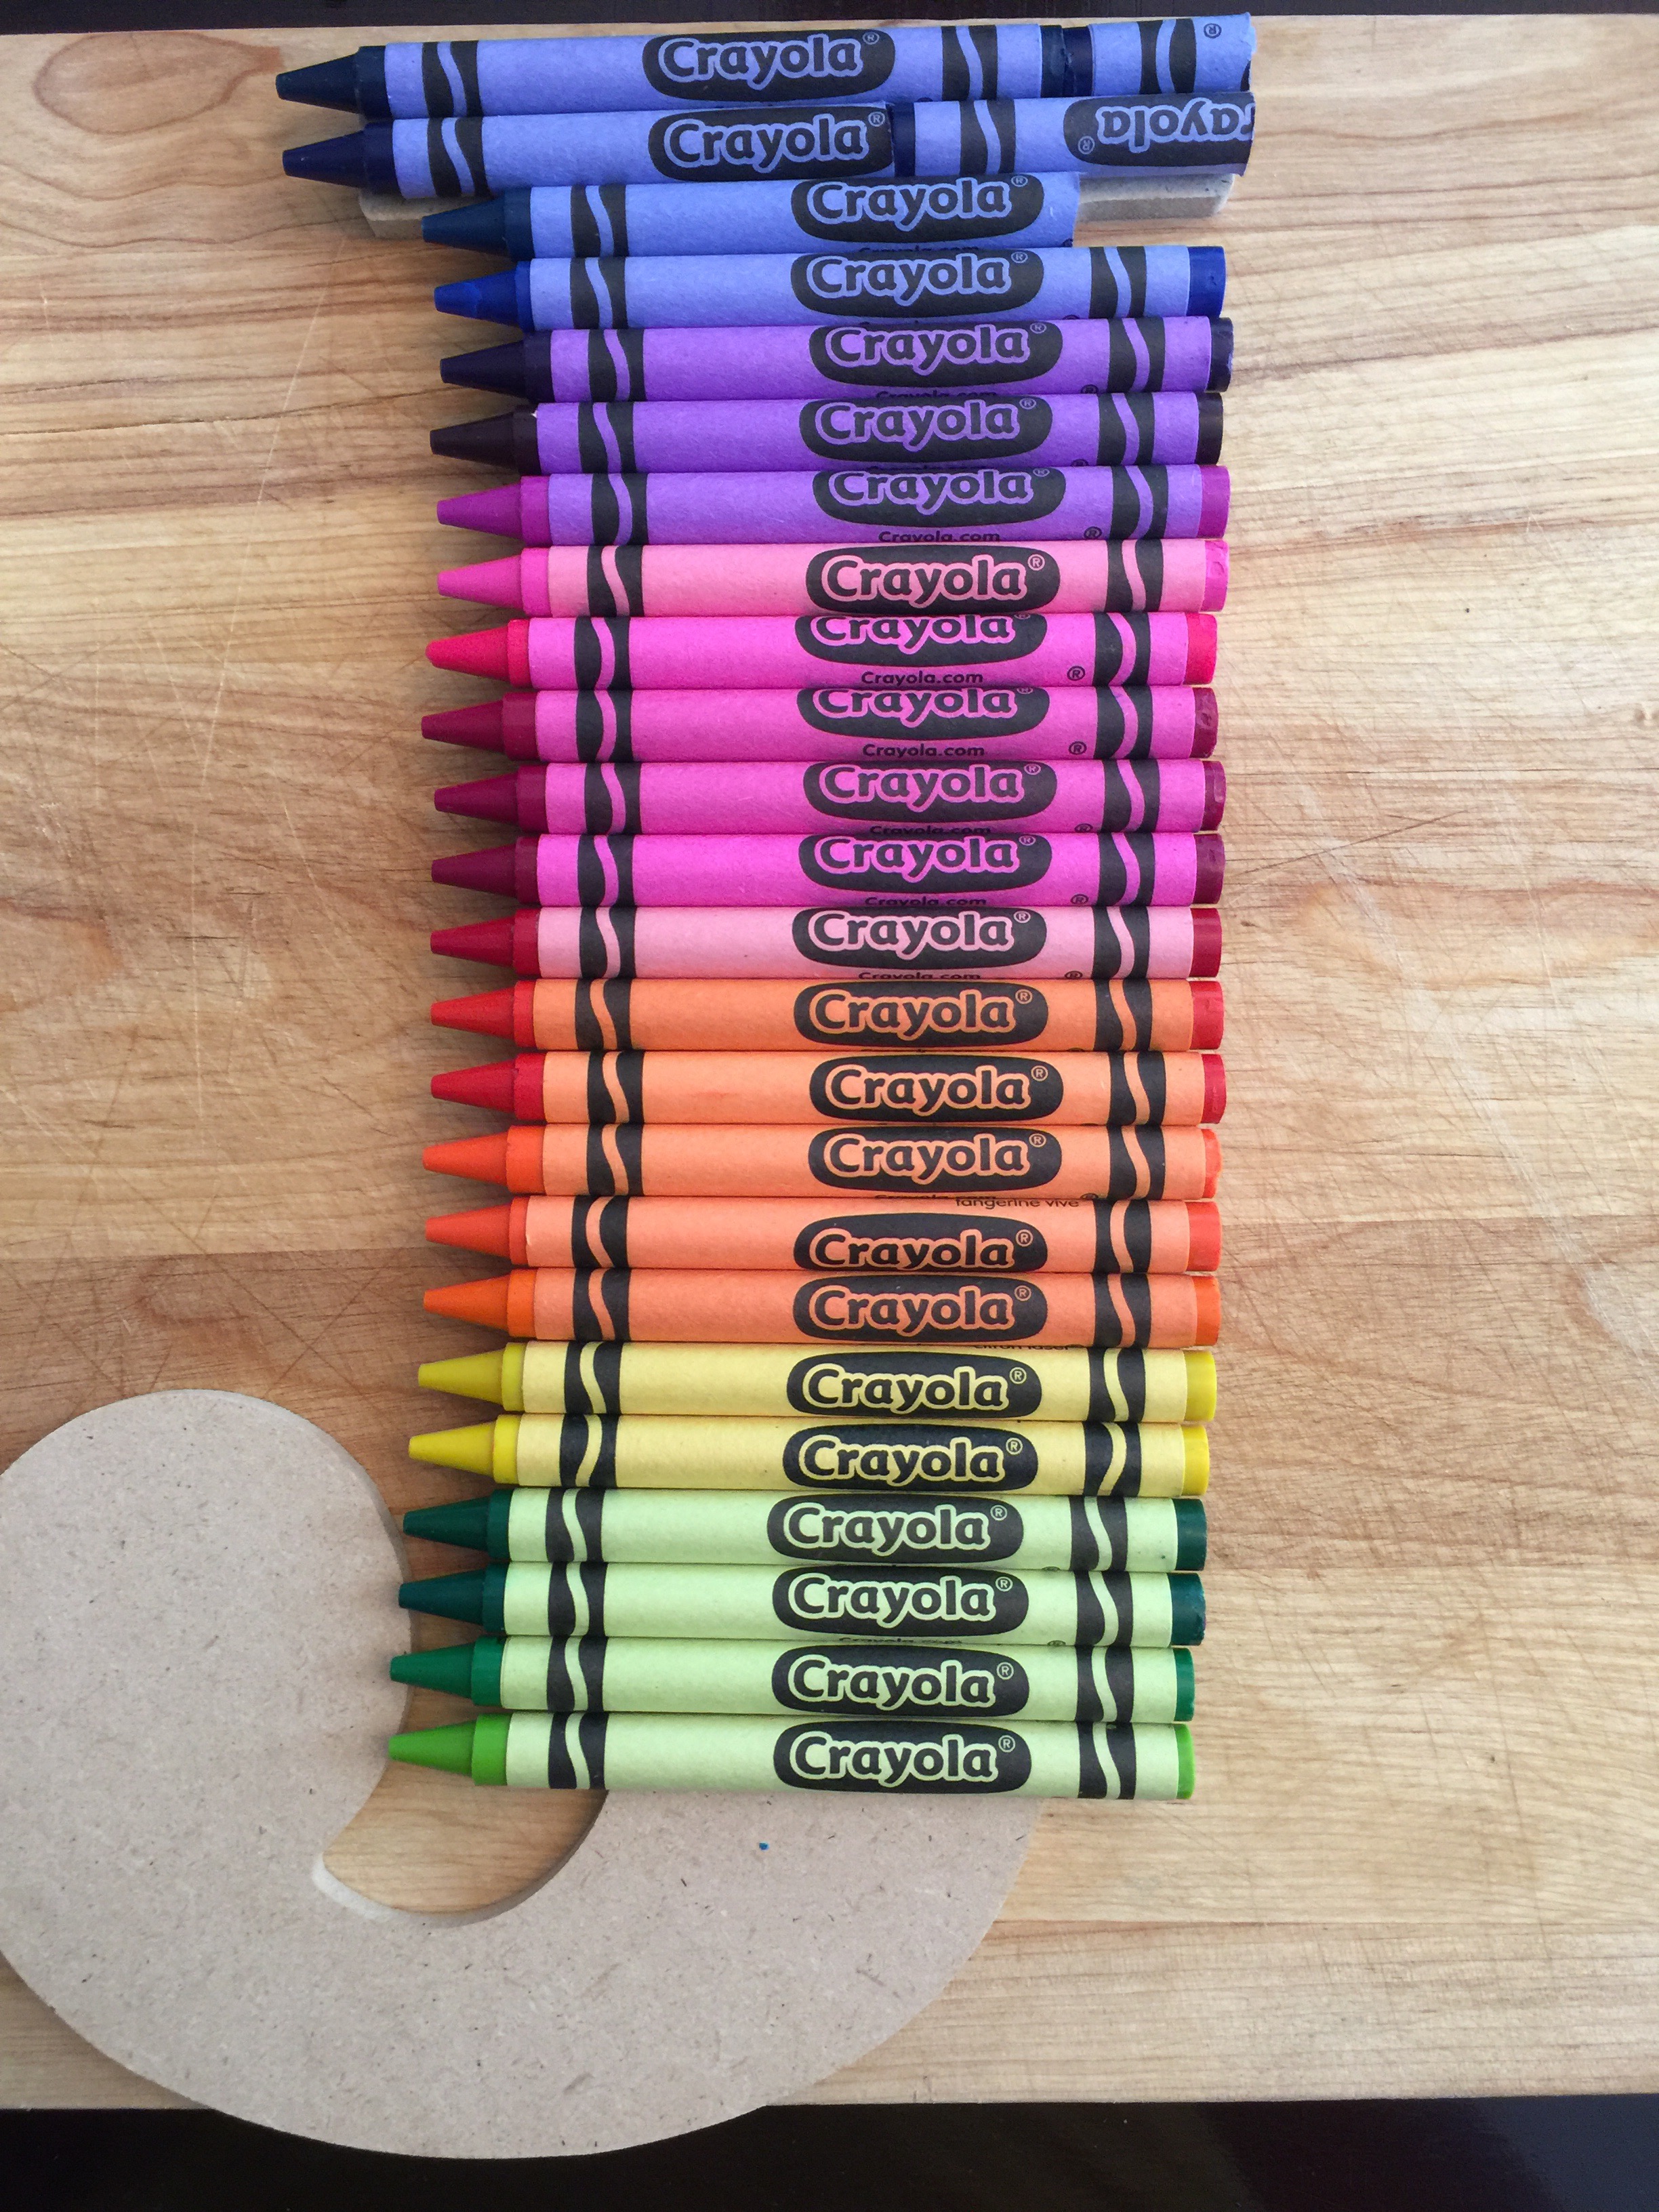
Sort your crayons in their respective color families. With the Crayola brand, the paper will be the same.
First, I did a layout of what it would look like without any of the crayons anchored down. This allowed me to switch or add more crayons to the rainbow design.
Remove the crayons from your letter in the order in which they are to be placed.
Anchor your first crayon, then continue to add crayons one at a time. Line them up as evenly as possible for a more uniform look. (If that’s what you’re going for.)
Don’t worry about cutting the crayons to the shape of the letter at this point.
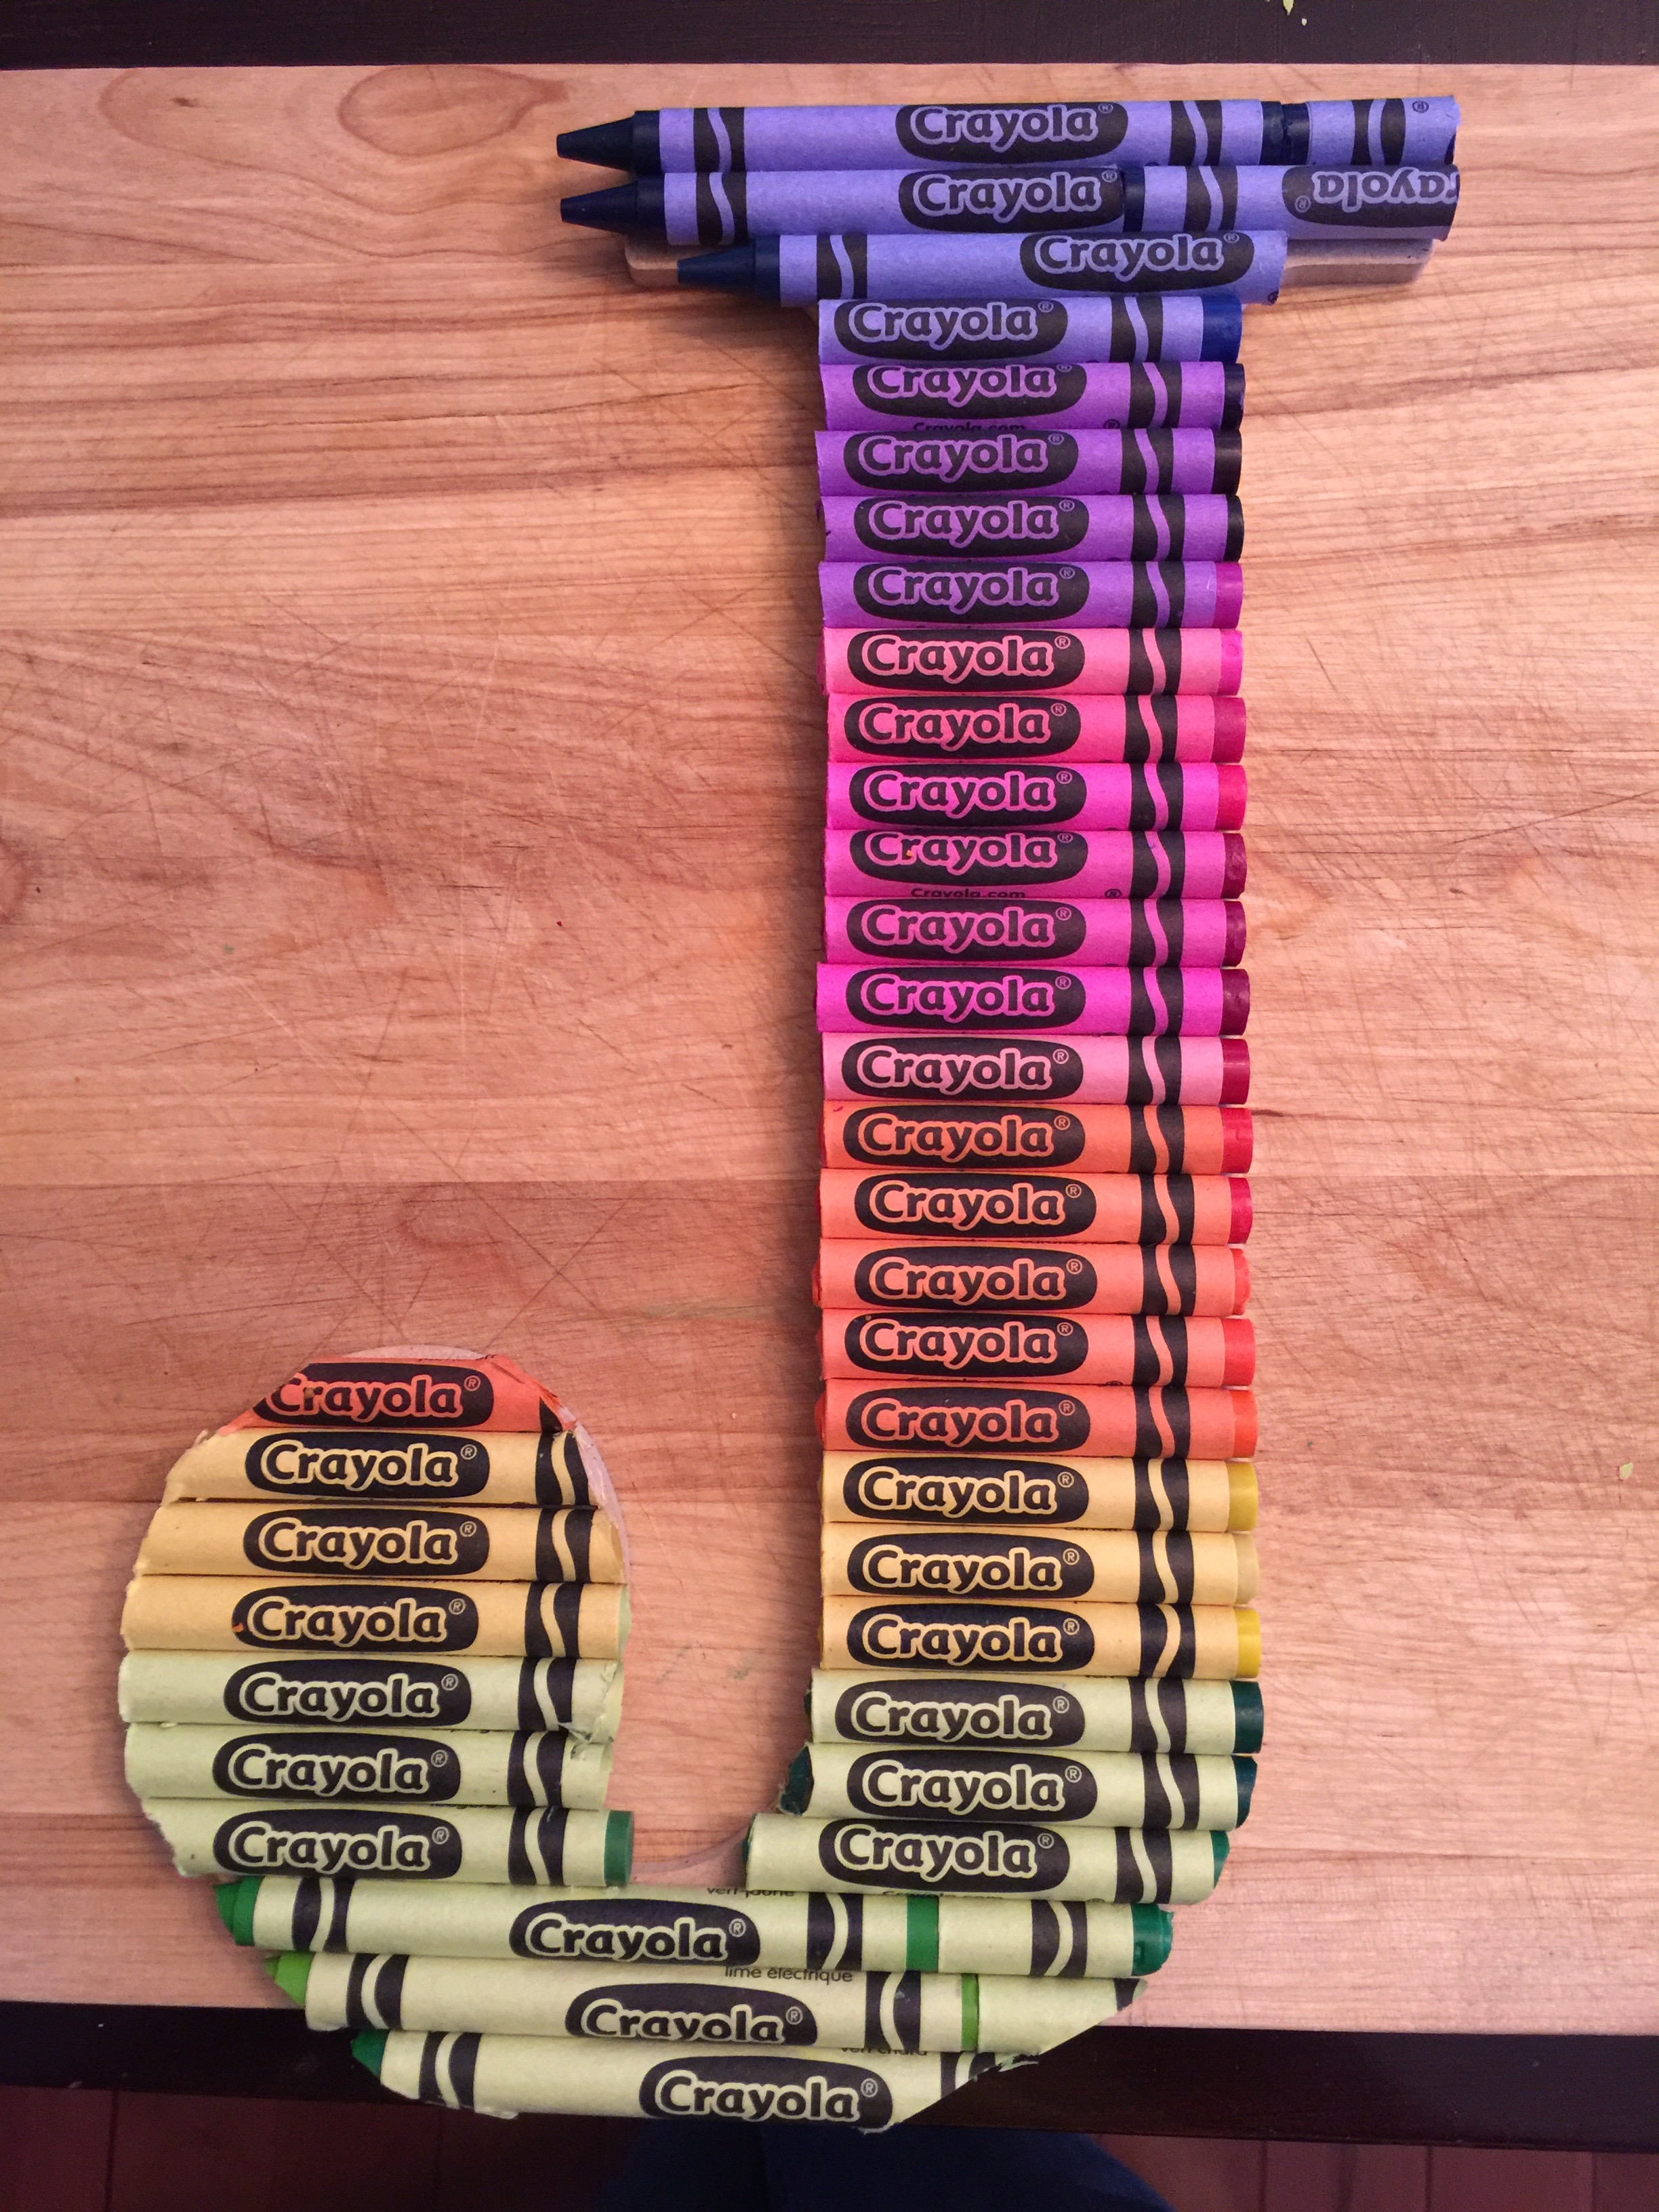
Finish the main body of your letter. (For example, with the “N” I did the middle of the letter first, then finished the sides.)
Clear your cutting board of any debris, and flip your letter with the crayons facing down.
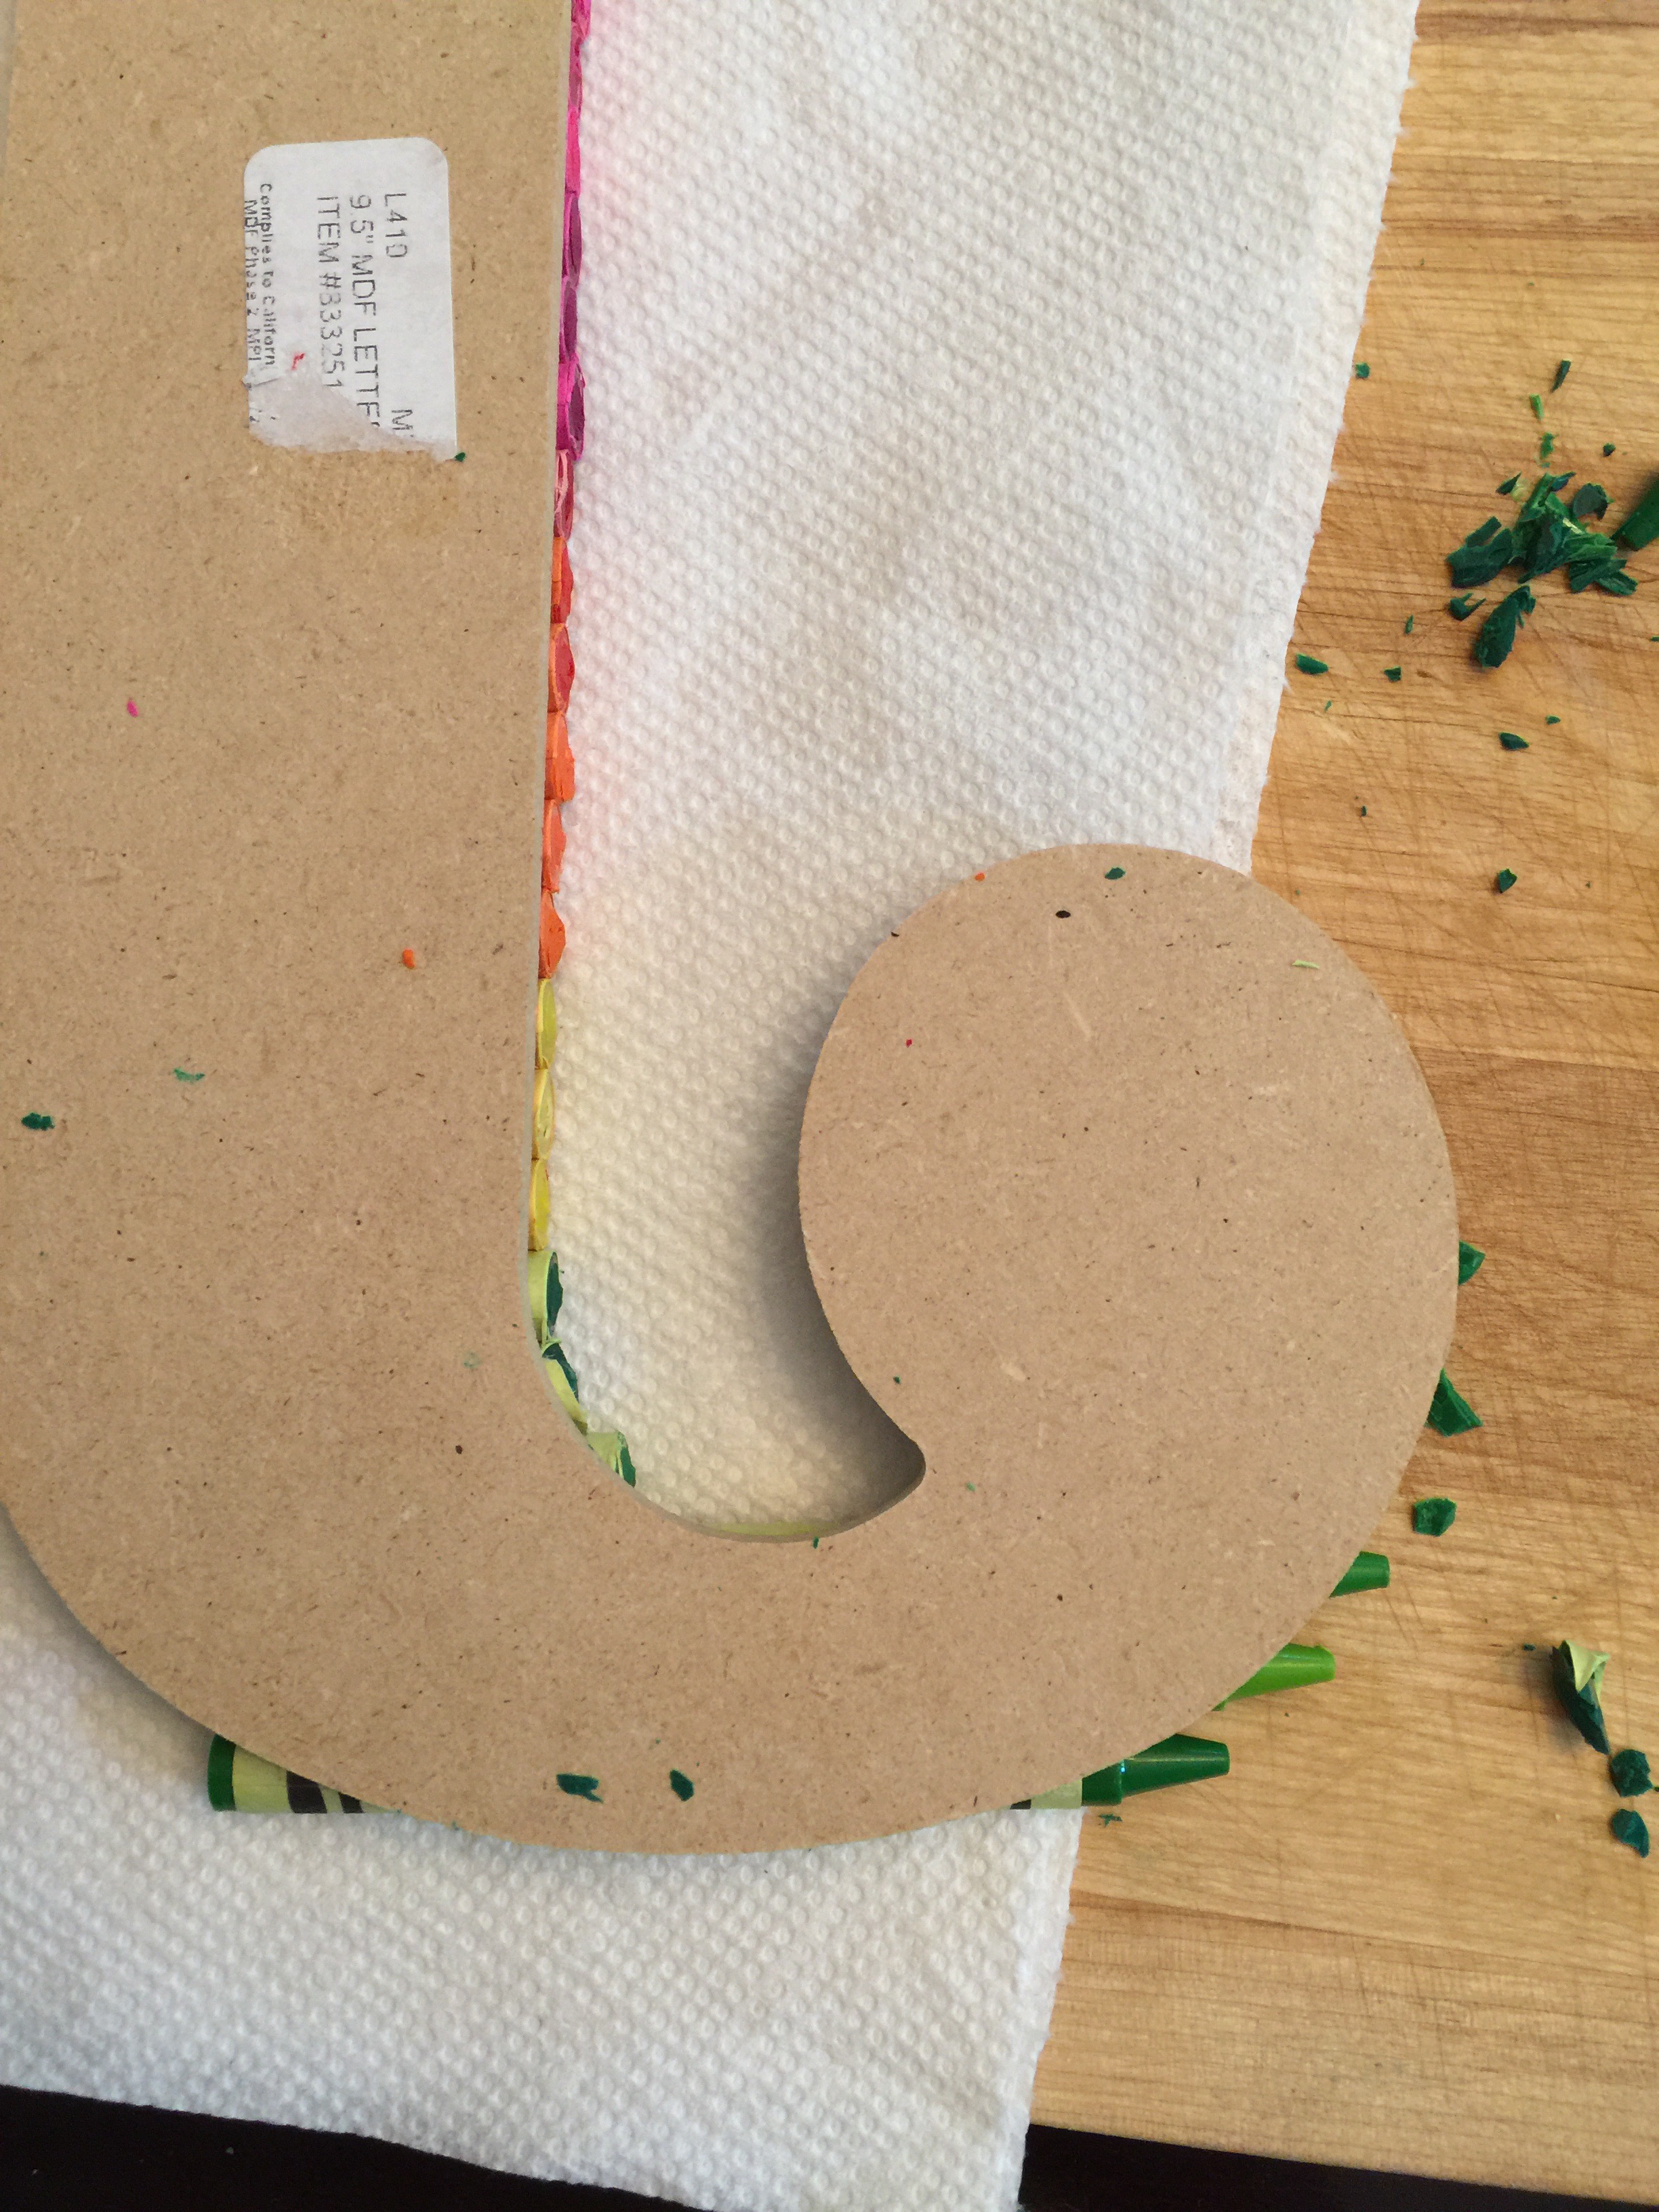
You can know use your craft knife to follow he outline of the letter and cut your crayons. I recommend several passes so that you get an even cut and don’t break your crayon in an unwanted spot. Trim off any excess crayon or wrapper. Save the cut off bits of crayon- you may need them later.
Repeat pattern to finish your letter.
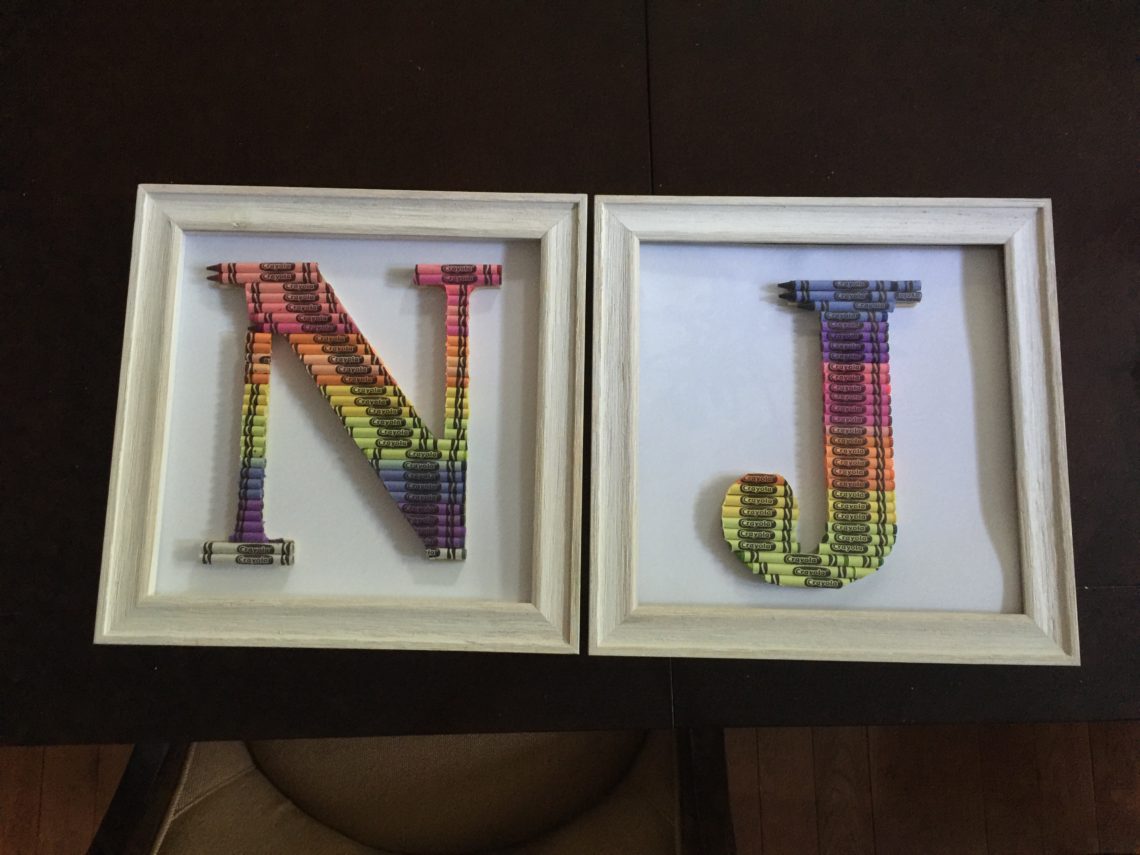
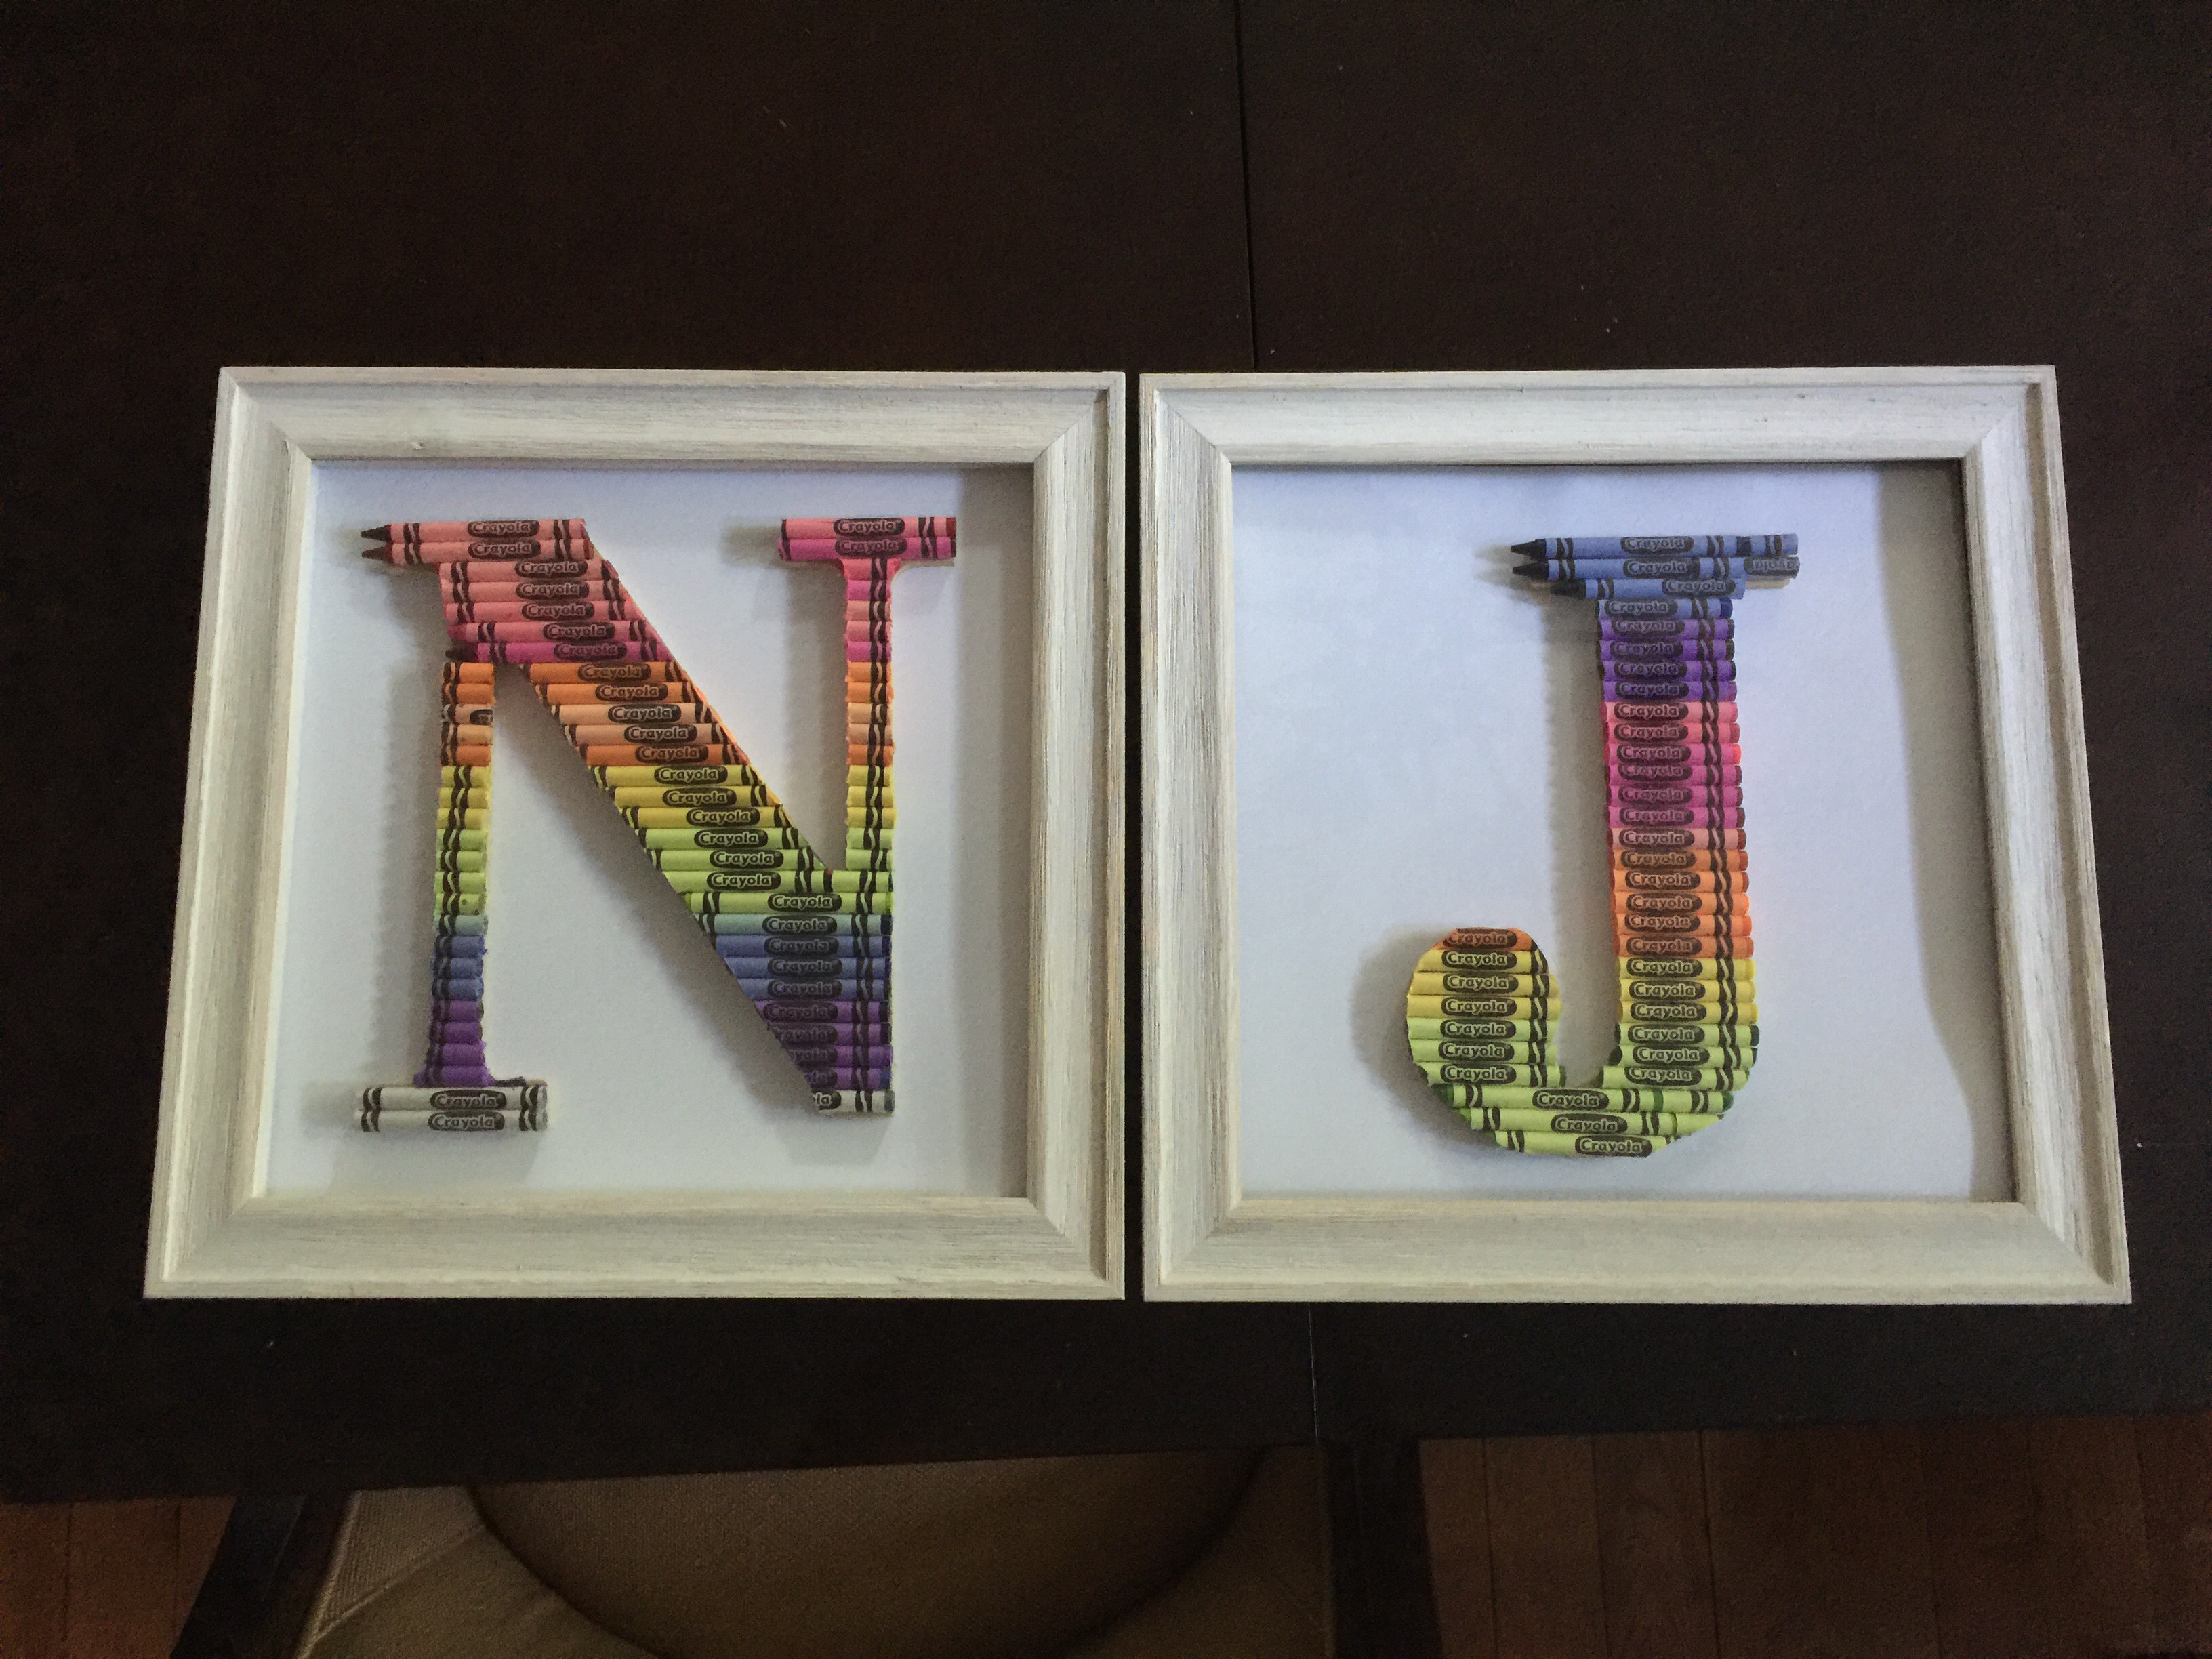
Displaying your letter.
I chose to display my letters in a memory box so that the children can sign the frame to make it even more personal and special. You can also attach ribbon to the back and/or anchors for hanging.
Time: approximately 2 hours for each letter
Cost: $$
(frame was really the determining factor)
Letters:$2.50 each @Hobby Lobby
Crayons: $6 for box of 120. I wanted to use Dollar Store crayons, but the paper on the crayons was all the same.
Glue Dots: $5 for pack of 200 @Hobby Lobby
Craft knife: $5
Kid involvement: This can be a great project with the little ones. Miss Pickles was a big help in sorting the crayons and helping with the layout. Of course, an adult should do the cutting!
Have fun!!